How to Install Linux Mint on Windows
First, back up your data on an external drive, since this operation will destroy all data on your internal drive
- First, open your favorite web browser and go to the Linux Mint Website.
- Second, choose your edition. Cinnamon edition is sleek and modern, good for devices with 6 GB RAM or more. XFCE is for weaker hardware, good for devices with 4 GB RAM or less. MATE edition is for those who want a classic look to their OS or want a middle ground between Cinnamon and XFCE.
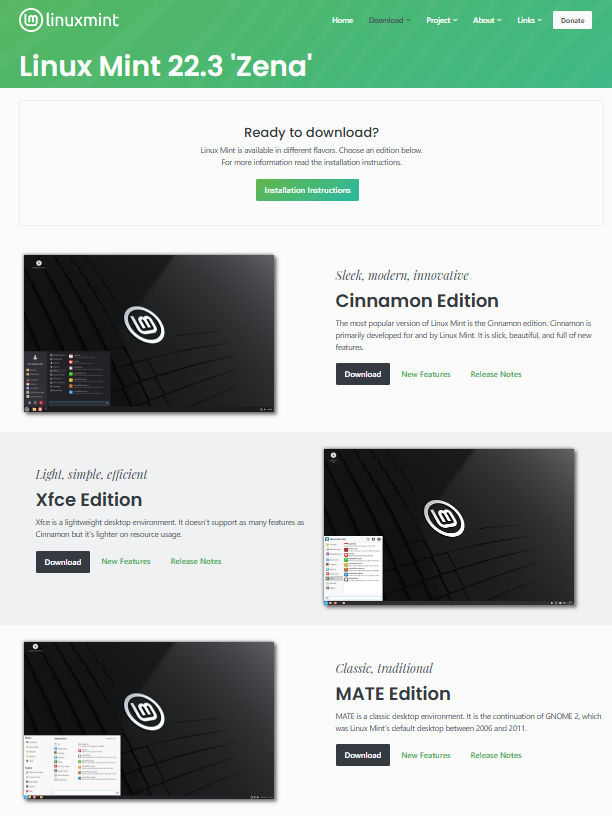
- Go down to the “Download Mirrors” section and click a link that is your country or has the same language. Wait for the ISO file to download.
- Search the Microsoft Store for “Rufus”; download and open it.
- Attach an external drive to your device and select it in the “Device” box
WARNING: DO NOT select your internal drive or it will get wiped, making your computer useless.
- Under “Boot Selection” , press “SELECT” and choose your ISO file in the downloads folder.
(optional)Name your external drive under the “Volume Label” section.- Press start, skim through the warnings, then wait for the process to complete.
- Press the restart button on your PC(do not shut down because it won’t work by default) and mash the BIOS button(F2 or del/backspace)
- Don’t be scared by the menu. Navigate to the security section and by “Secure Boot”, select disable.
- Save and exit. Then mash your boot menu button(F11, F12, etc.) and select your external drive.
- If you get the error message, mmx64.efi not found(or similar), go to [boot] > EFI and copy grub64.efi and rename the copy to mmx64.efi. Repeat steps 9 and 11.
- Double click the disk named “Install Linux Mint”. Continue to press the continue button until you get to “Install Media Codecs”. Check the checkbox and keep pressing “Continue”.
- Setup your username and password.
- Once you complete the install wizard, look around Linux Mint while it downloads onto your internal drive. Try looking around the settings, that’s really fun!